At Golden Helix, we want our new users to hit the ground running with VarSeq and not spend oodles of time getting started building and automating their workflows. To achieve this goal, our team has generated blogs, webcasts, and tutorials that explain and demonstrate workflows that are possible with VarSeq.
Each VarSeq tutorial offers step by step instruction in which users can follow along either with your own data or with data provided by the tutorials. Recently, we featured the VarSeq CNV Caller Tutorial for users who are using VarSeq for CNV analysis. In this blog, I will highlight the Cancer Gene Panel tutorial which covers a basic gene panel workflow with cancer applications.
You can access all VarSeq tutorials from Golden Helix’s website (Figure 1) or this link will take you directly to the Cancer Gene Panel Tutorial.
Please note that in order to access our tutorials, you will need an active VarSeq license with the CNV Caller on Target Regions feature. If you are interested in activating a free trial for this project, please email info@goldenhelix.com.
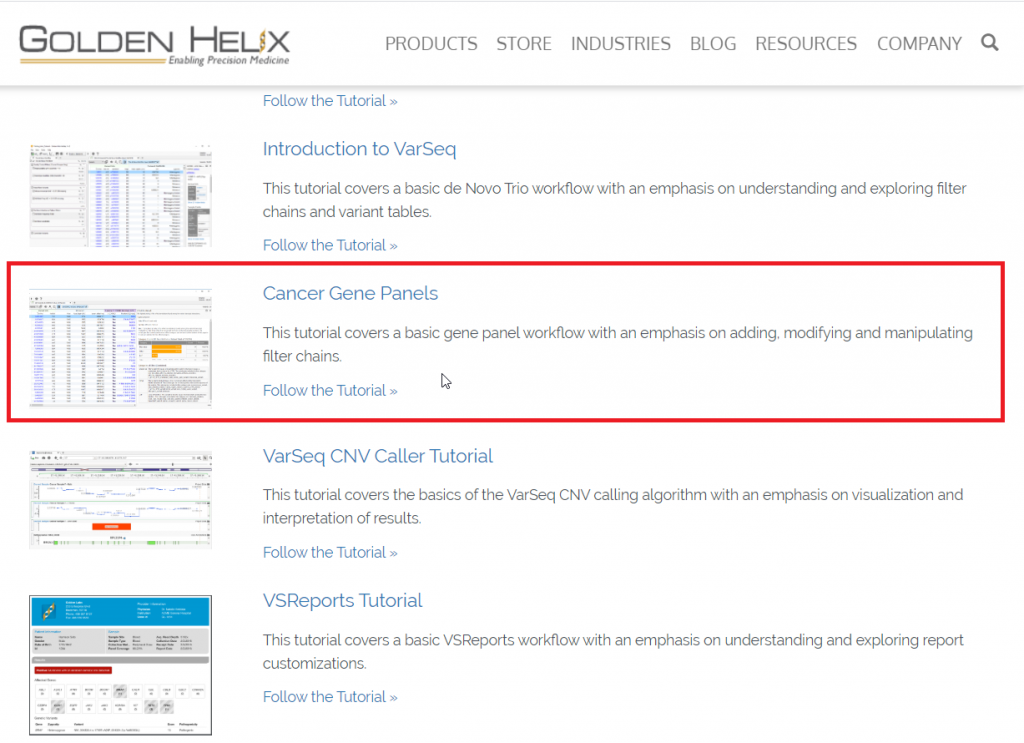
Figure1: Accessing VarSeq tutorials from the Golden Helix website
On the welcome page for the Cancer Gene Panel tutorial, you can download and unzip the “Cancer_Gene_Panel Tutorial.zip” file which contains the VCF files used in the tutorial (Figure 2).
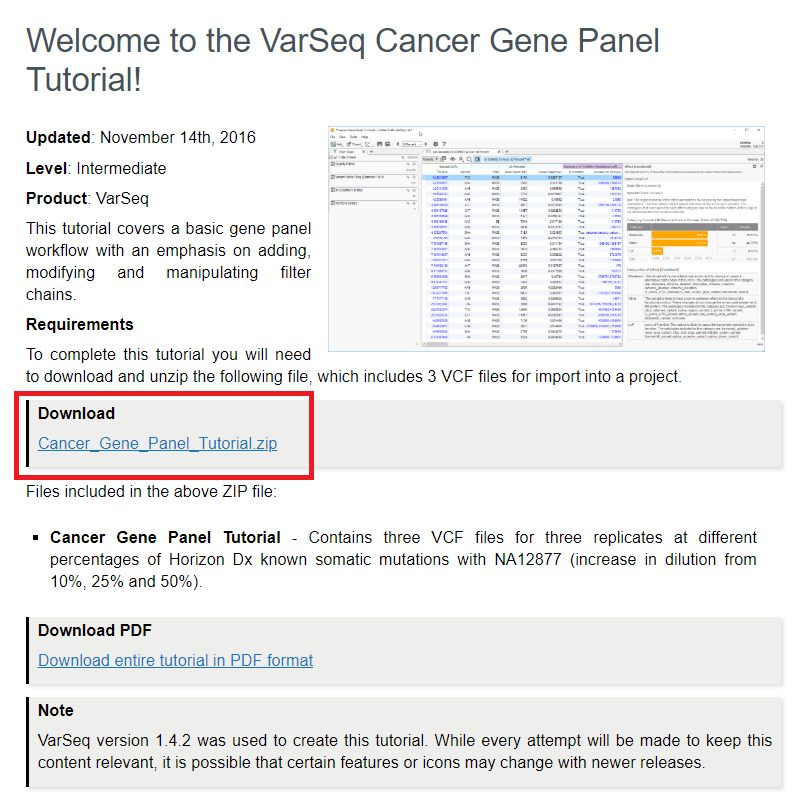
Figure 2: Download for the data used in the Cancer Gene Panel tutorial
At this point, I want to draw your attention to the Table of Contents navigation on the right (Figure 3). The Cancer Gene Panel tutorial begins with a brief overview of each step that will be covered in the tutorial. The tutorial will guide you through each of these topics and at any time you can navigate directly to any given step in the workflow. The Cancer Gene Panel tutorial begins by building a project entirely from scratch and importing VCFs files into VarSeq.
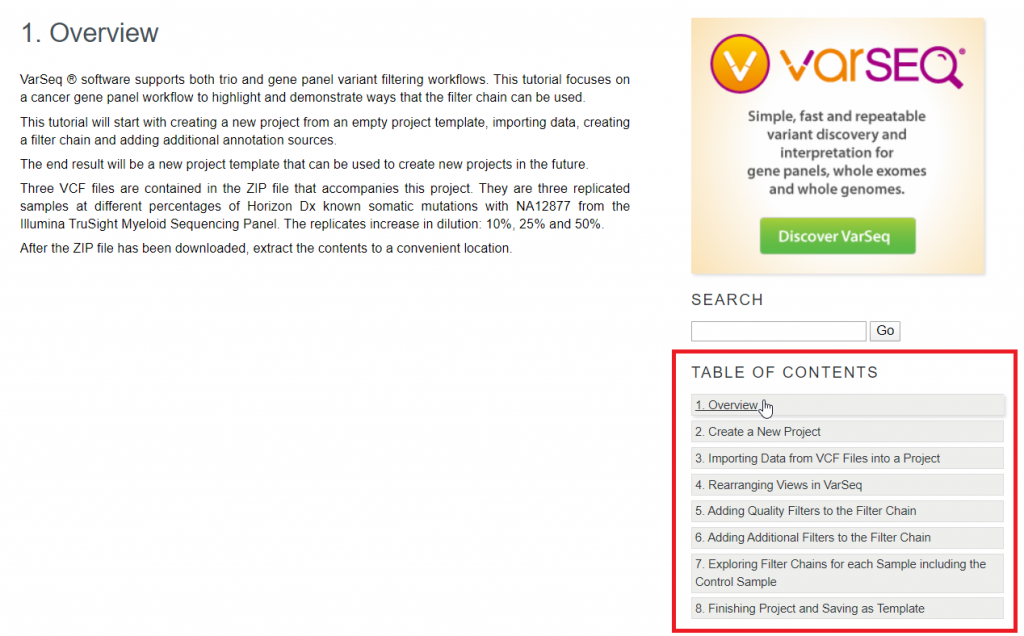
Figure 3: Overview and Table of Contents Navigation
The first three steps of the tutorial address creating a project, importing your data, and manipulating the VarSeq interface so that you can build projects tailored to your preferred layout. The next steps cover the basics of setting up a workflow by adding filter cards from the variant table. The variant table houses all annotation sources that are added to the project including cancer annotations such as ClinGen, Cosmic, and CIViC. Most fields from the variant table can be used in the filter chain, solidifying the filtering logic for the project. Finally, the tutorial wraps up discussing how to save the project as a template. Once you have settled on a VarSeq project layout and filtering logic tailored for your cancer analysis, you can save the project as a template that can be used with future samples.
The Cancer Gene Panel tutorial is a great tutorial to help you explore VarSeq capabilities when you are getting started and becoming familiar with the software. Evidently, as you incorporate more annotation sources and algorithms to filter your cancer variants, workflows will grow to be more complex and patient-specific. If you would like more detailed training on building a cancer workflow or analyzing cancer variants with VarSeq, please do not hesitate to reach out to support@goldenhelix.com and we will be happy to assist you.