Advances in high-throughput sequencing have allowed us to be able to detect structural variants such as copy number variants in addition to small variants such as SNVs and indels. We provide users with an industry-leading CNV calling algorithm to detect CNVs directly from their next-generation sequencing data including whole genome, whole exome, and gene panel datasets, and also import CNVs called by external secondary callers. Within VarSeq users can filter CNVs based on a number of relevant databases and complete their entire variant analysis workflow. Here I will discuss how to import, annotate and filter CNVs from any external secondary caller.
VarSeq enables users to conduct small variant and copy number variant analyses in parallel on the same sample. Once a standard VCF containing small variants (SNVs, indels) has been imported and a project has been created, users can then use our VS-CNV module to call CNVs or import CNVs from an external source or do both and compare the results. CNVs can be imported from any external source including Dragen, XHMM, GATK, or even structural variant files like delly, manta, and lumpy. Both types of CNVs can then be processed similarly to complete the variant annotation and filtration process and even perform an evaluation of clinically relevant copy number variants in VSClinical.
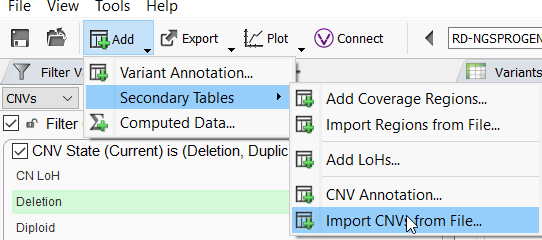
To import CNVs, a user will Add a Secondary Table and choose Import CNVs from File. Here you can bring in your CNVs in VCF, text, or tsf format.
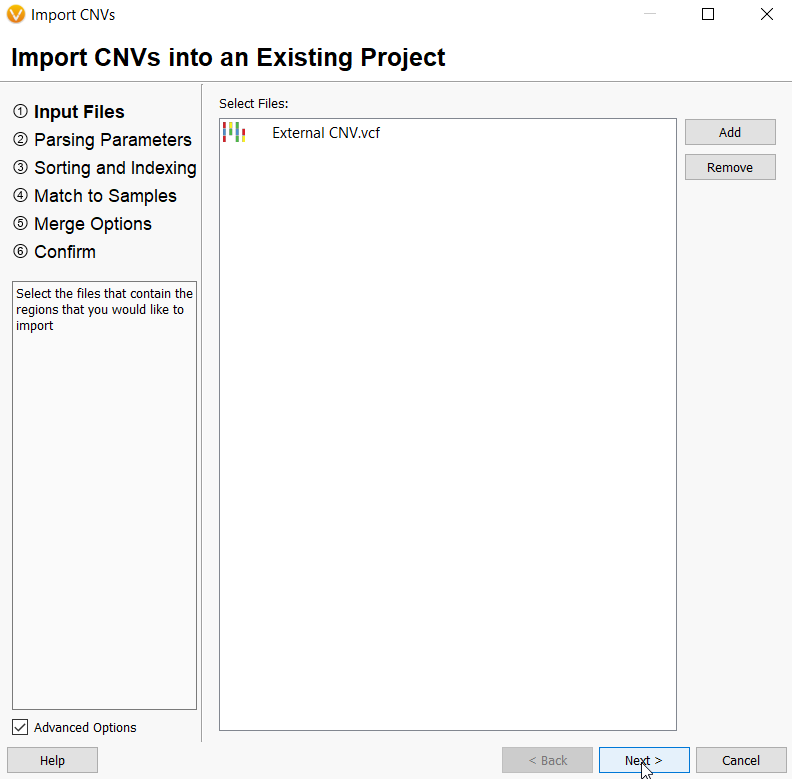
From the import menu, you then select Add and browse to the file(s) you want to import. In this example, the file format is a VCF.
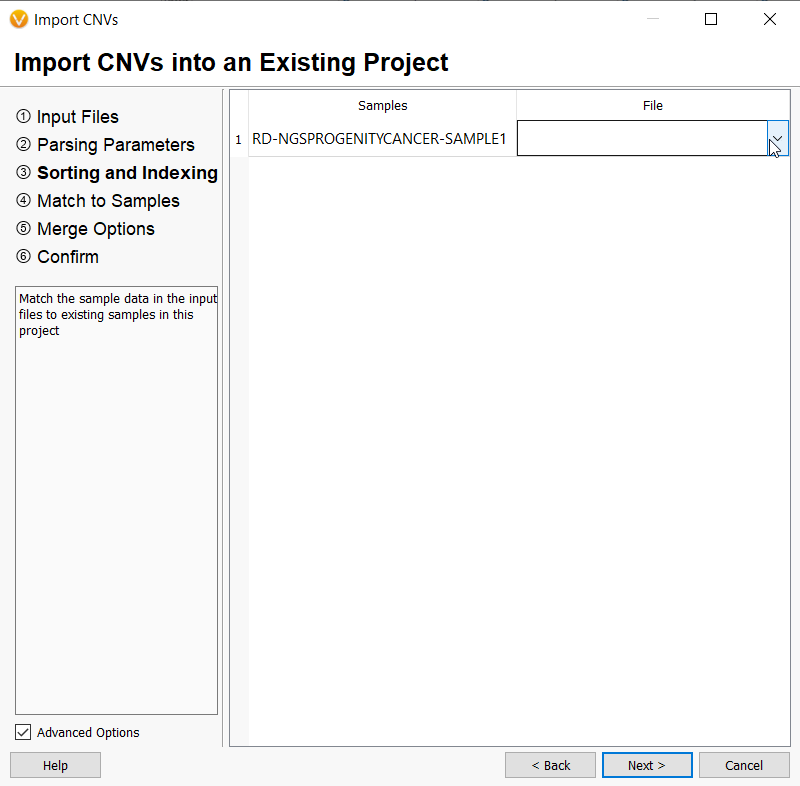
Any CNV file that is uploaded will need to be associated with an existing sample in the project. A list of samples in the project will be displayed, and any number of CNV files imported will be listed in a drop-down menu beside each sample for the user to choose.
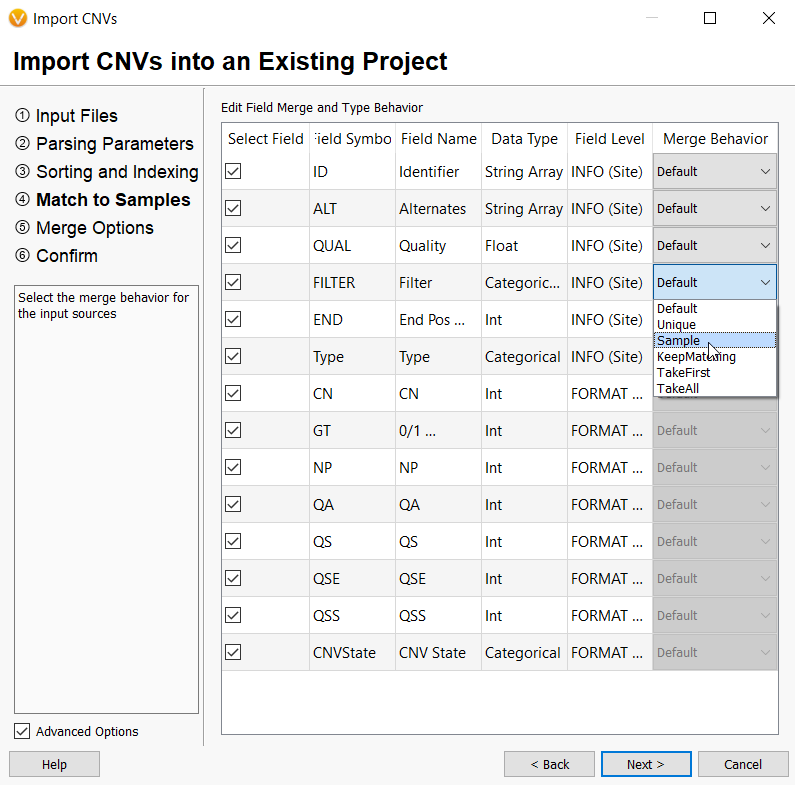
Since your CNVs will be mapped to an existing sample, the fields brought in with your CNV VCF or text file will need to be merged with that sample. You have the option to leave the default settings or adjust how each field is brought into VarSeq by selecting from several options in the drop-down menu in the Merge Behavior column. For example, the FILTER field is designated as an INFO level field but this can be changed to a sample level field and show up in the Sample fields in your CNV table once imported. Only sample level fields can be used to create sample-specific filters.
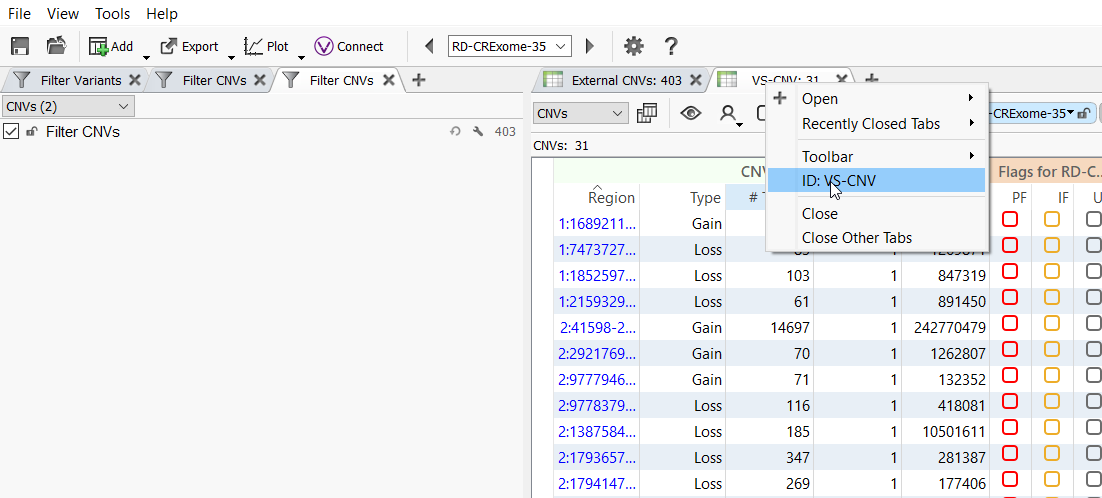
Once the import is complete, a CNV table is created. A unique CNV table will automatically be created for each set of CNVs whether it was called by VS-CNV or imported, and you can also import multiple CNV files per sample. To rename a CNV table right-click on the tab header and select ID: from the menu that pops up.
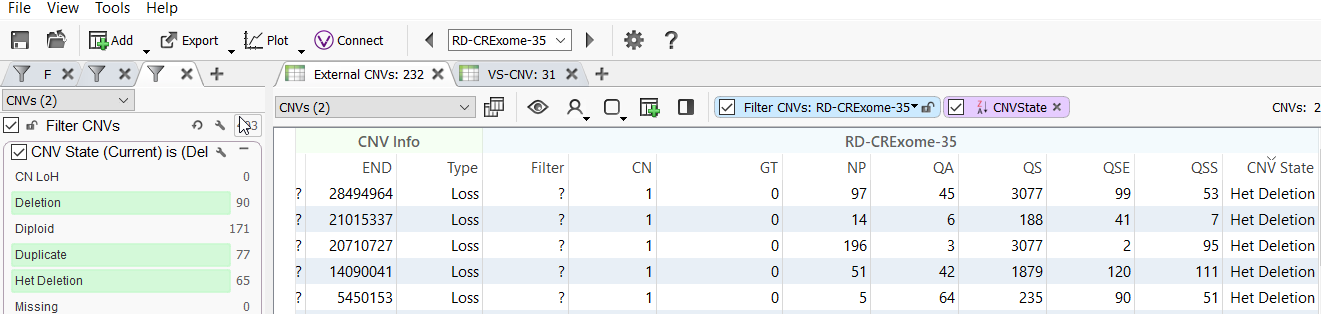
Once the CNV table is created, you can begin to annotate and filter CNVs. From the import file in this example, we brought in the copy number (CN) field. VarSeq uses this information to calculate the CNV state. This CNV state field can be used to filter CNVs and select those classified as a deletion, heterozygous deletion, or duplication, for example.
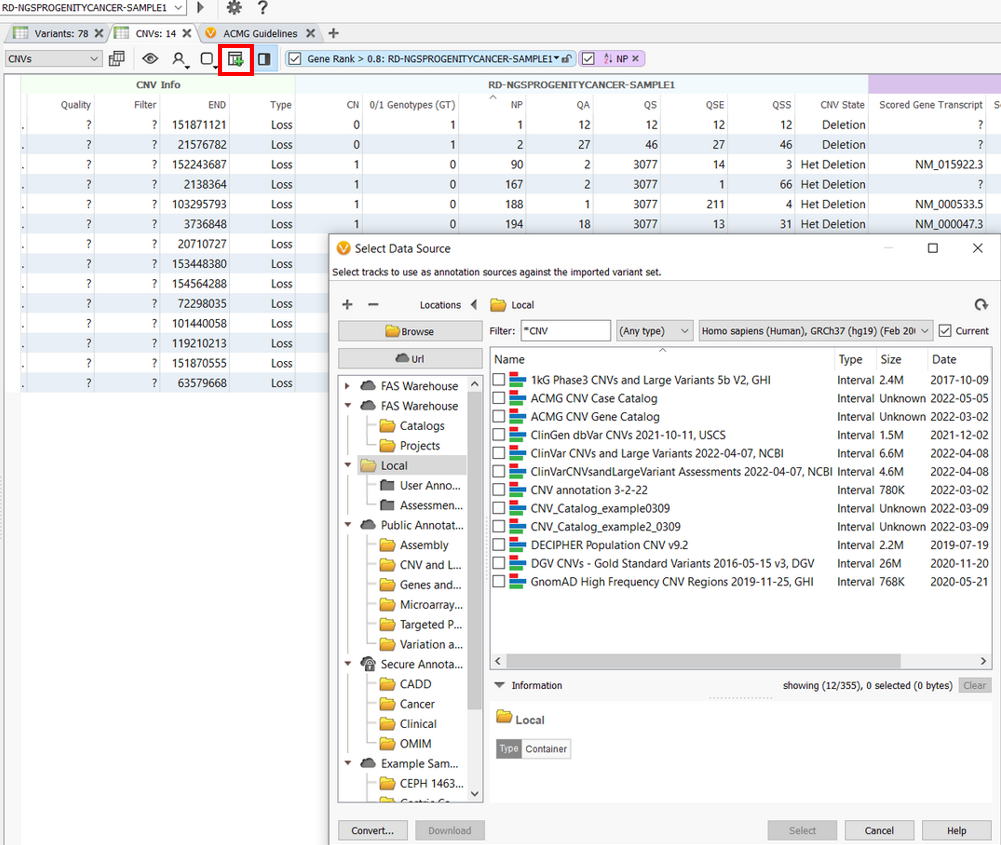
Users can also access all our CNV annotations for their imported CNVs by clicking on the Add icon and selecting desired data sources. Population frequency CNV catalogs like DGV CNVs and GnomAD High-Frequency CNV Regions can help to filter out the common, most likely harmless CNVs in the population.
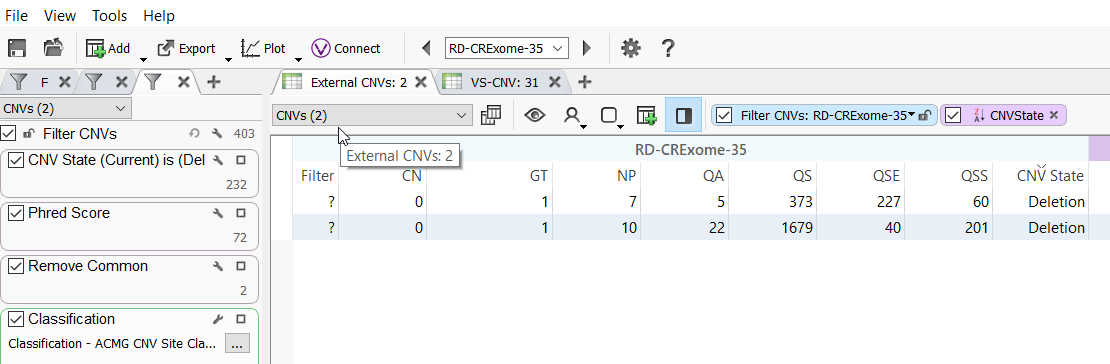
A simple filtering strategy can include CNV state, quality metrics imported with the CNV file such as a Phred Score, the population frequency catalogs to remove common variants, and our ACMG classifier to prioritize pathogenic or likely pathogenic CNVs. Those filtered CNVs can then be evaluated in VSClinical.
So, whether you have raw NGS data and need to call CNVs or you have already used an external caller and want to import CNVs, VarSeq’s CNV analysis tools will help you to detect, annotate and filter your CNVs and find the ones that are clinically relevant.
I hope this blog was informative, and invite you to share any comments and questions below. You can also reach out to us at support@goldenhelix.com with any questions or if you need any help importing CNVs into your project.