Although best known for its auto-generation of custom reports, VarSeq comes with a slew of options for exporting your data. In this blog, we will review some of the lesser-known methods for exporting your data into usable formats.
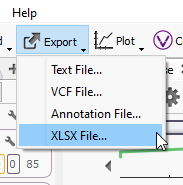
These four export options can all be found under the Export tab at the upper left corner of your VarSeq interface (Figure 1). These options include converting your data into Text Files, VCF Files, Annotation Files, and Excel Spreadsheets.
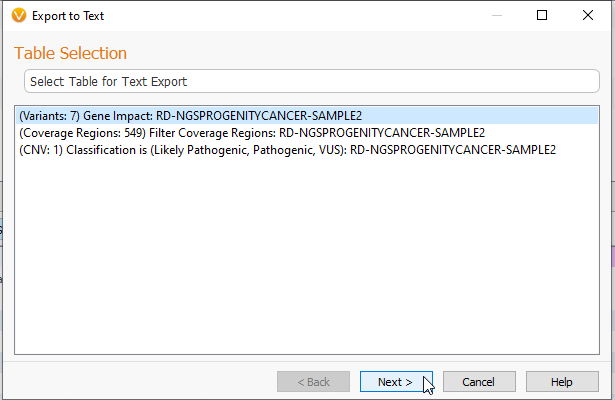
First, we can take a look at exporting a data set into a Text File. The first screen will let you select which tables in the project you would like to export. Here there is a Variant table, a Coverage Regions table, and a CNV table (Figure 2).
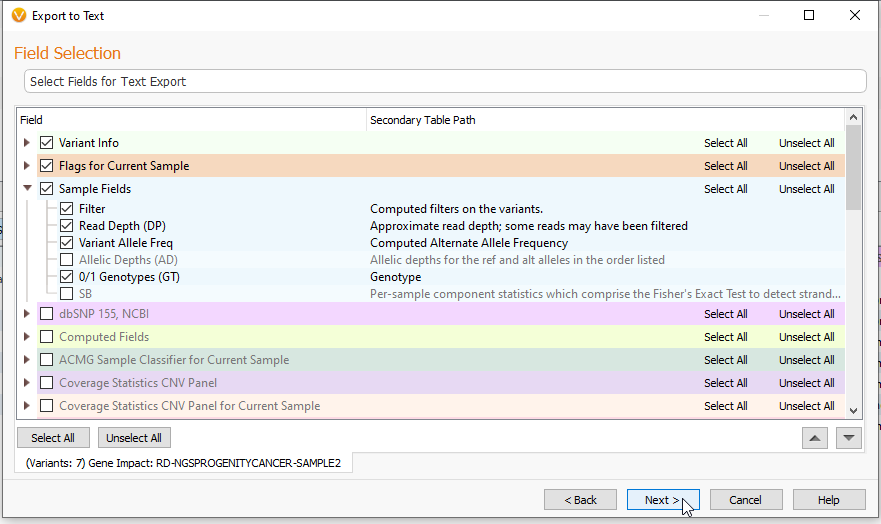
After clicking Next, you are brought to a section where you can select or deselect fields for export by clicking on the boxes next to those sections (Figure 3). Here, you can also reorder your data by using the up and down arrows in the bottom right of the box.
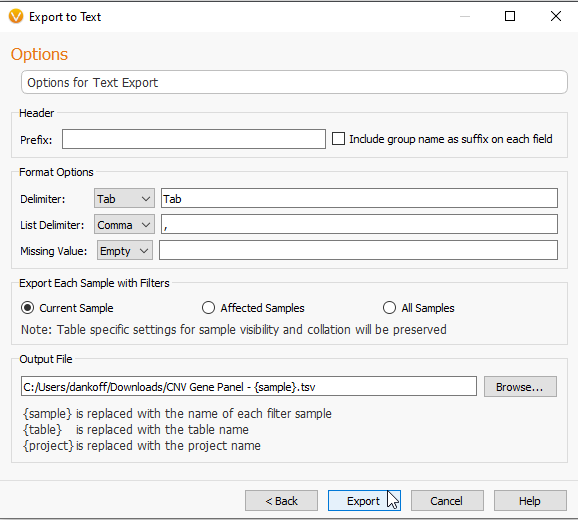
By clicking Next, you will be taken to the Export to Text page where you are given options for editing the format of the data, i.e., creating a tab delimited text (Figure 4).
By clicking Export, you begin the file export (Figure 5). The time to export will vary in accordance to the size of your file.
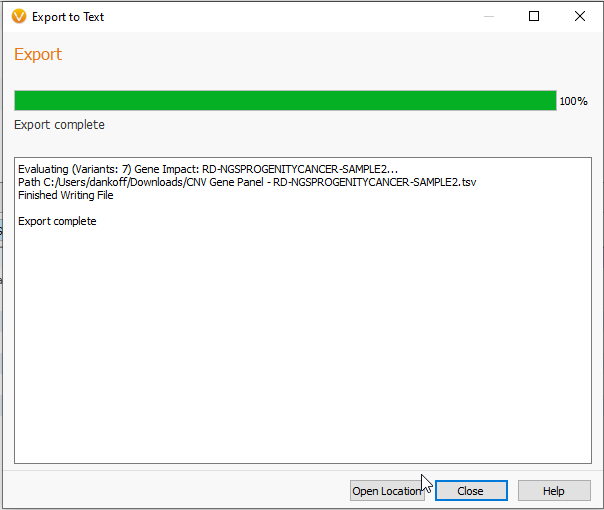
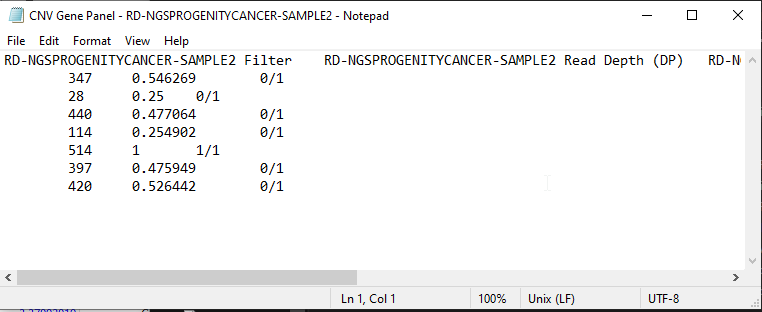
From there, you are able to close the page, or Open Location to the new exported file. This text file can be opened with any text editor, such as Notepad (Figure 6).
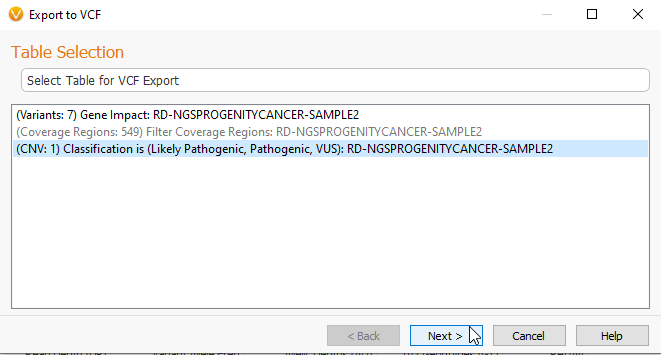
Next we can look at the process for exporting VCFs. The new ability to export VCF files is exciting for anyone who would like to subset their large projects, like WGS files, into more manageable sizes. To export to VCF, we go to the Export tab (Figure 1), and select the VCF Option. From there, you can pick the Table you would like to export (Figure 7). Here, I am exporting my CNVs from this particular sample.
As seen before, the next section allows you to pick the Fields you want to bring into your VCF (Figure 8). As I am exporting CNV data, the corresponding fields are appropriate to CNV data.

The Next section will allow you to name the new VCF (Figure 9). In addition, you can choose which samples you would like to export, with options for the sample you are currently viewing in VarSeq, ones that are marked as Affected, or All Samples in the project.

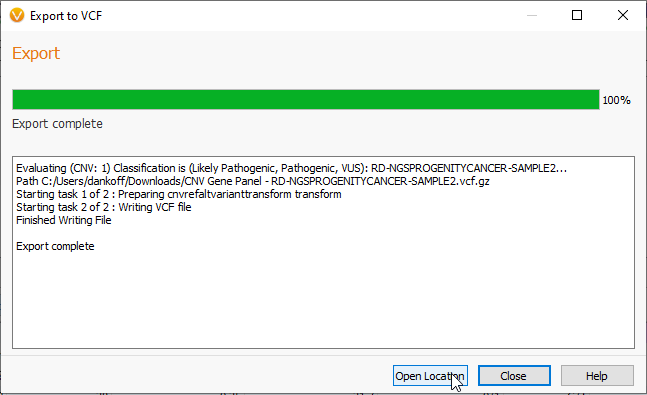
As with the Text file, the time to export will reflect the size of the VCF you are exporting (Figure 10). Once the export is complete, you may close the viewer, or click Open Location to see the new VCF.
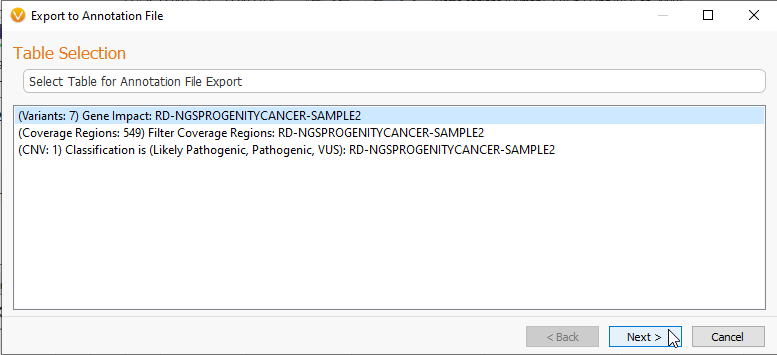
The next kind of data export allows a VarSeq user to take project data and turn it into an Annotation File for use with future projects. As shown in Figure 1, you can select the option for Export to Annotation File which will bring you to the page below (Figure 11). Here you may select the tables you want to change into an annotation file.
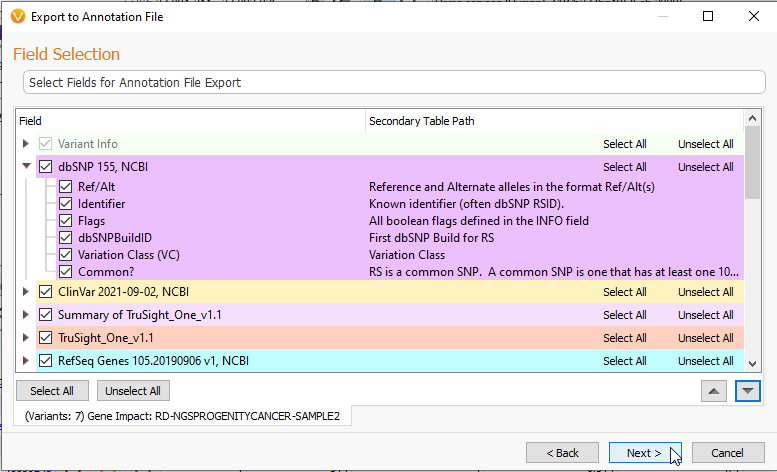
Like the previous methods of export, hitting Next brings you to a page where you can select the data types you want to bring into the new Annotation File (Figure 12).
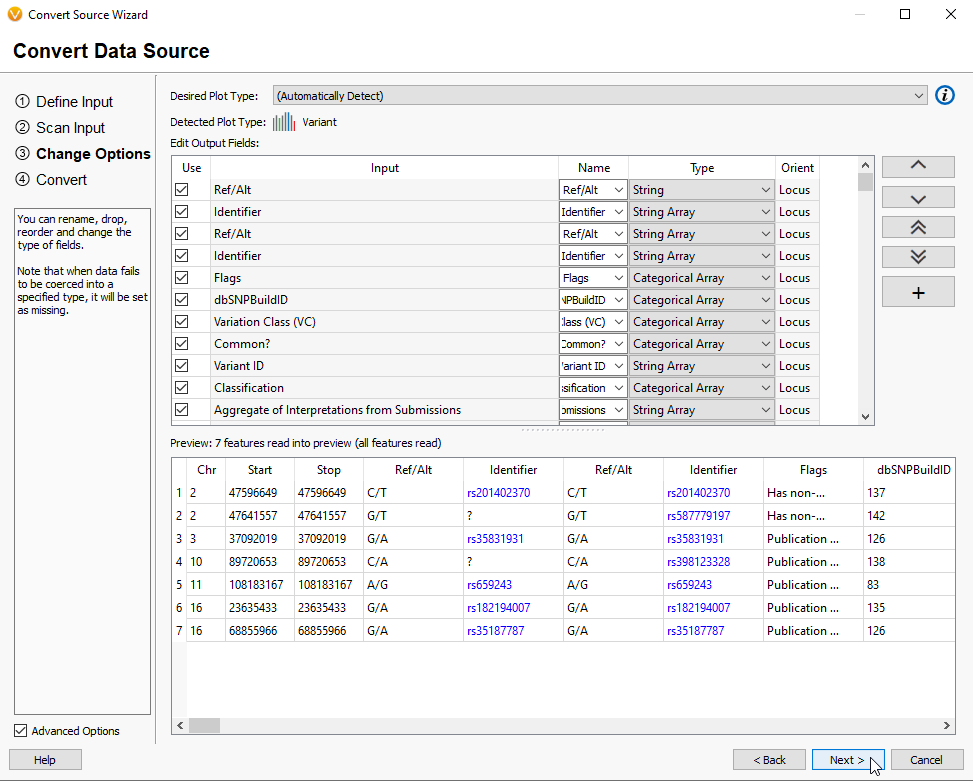
After hitting Next, you are brought to the VarSeq Convert Wizard (Figure 13). This page reviews the Input and allows changes to the expected data format.
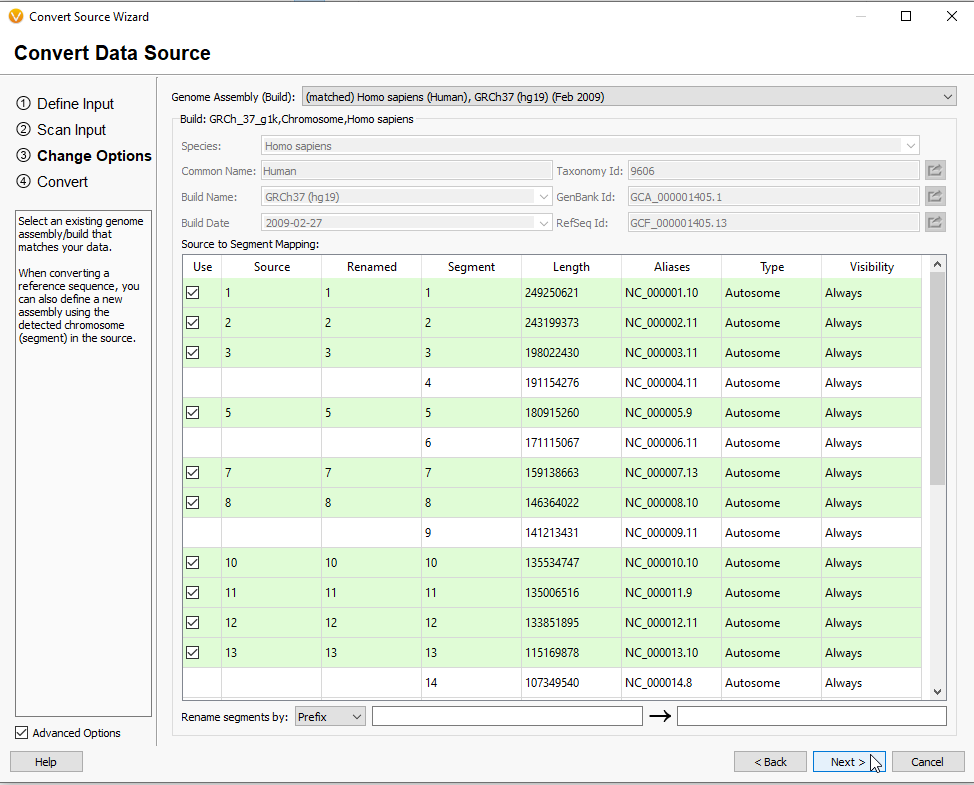
After making any changes to the format of the data and hitting Next, you are brought to a page where you confirm the build of the project (Figure 14). If needed, this page has the option to alter Segment data using the Rename segments by option in the lower left part of the screen. These features of the Convert Wizard make it not only useful for exporting new Annotation Files, but converting other file types for purposes such as curating custom genome assemblies.
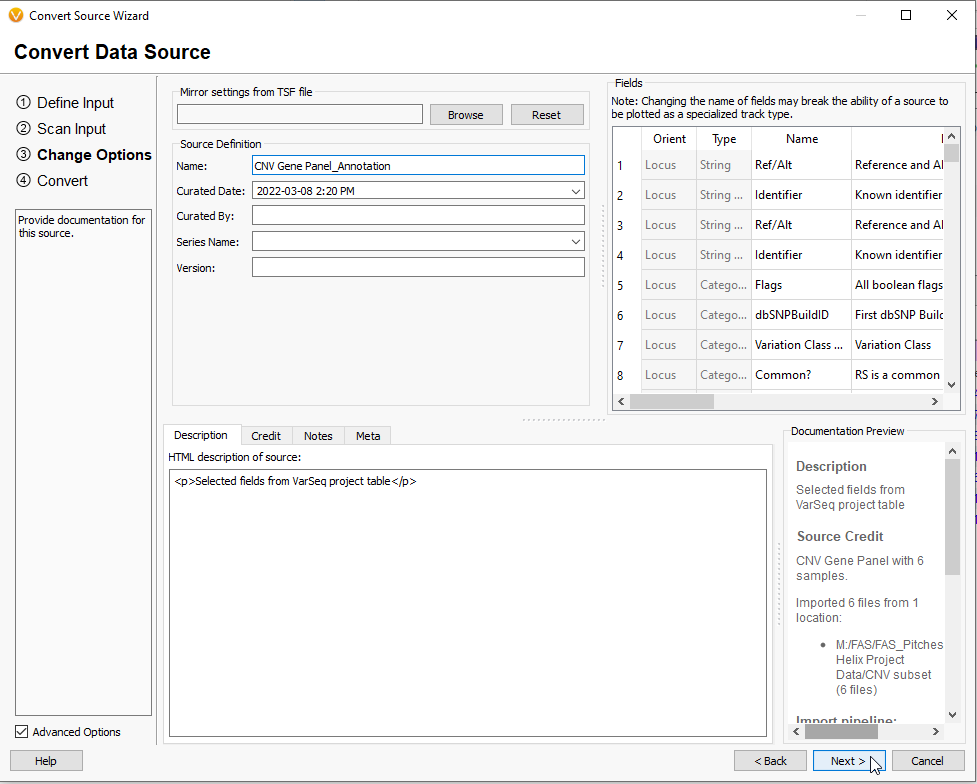
This next step before exporting your new Annotation File is to give the file a unique name and fill in any other curation information (Figure 15). At this point, you can elect to mirror the settings from another TSF file.
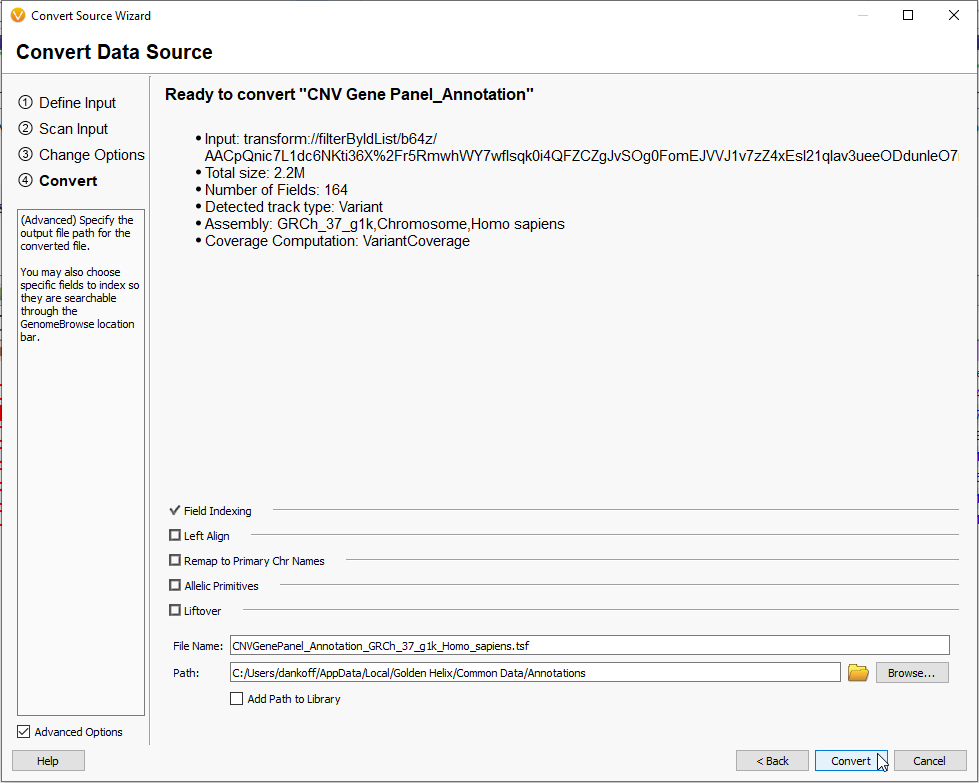
This last step allows you to finalize the file name and the location for export (Figure 16). Hitting the Convert button will begin the process.
As mentioned before, the size of the Annotation File can impact the time to export (Figure 17). When completed, you will be able to hit the Finish button.

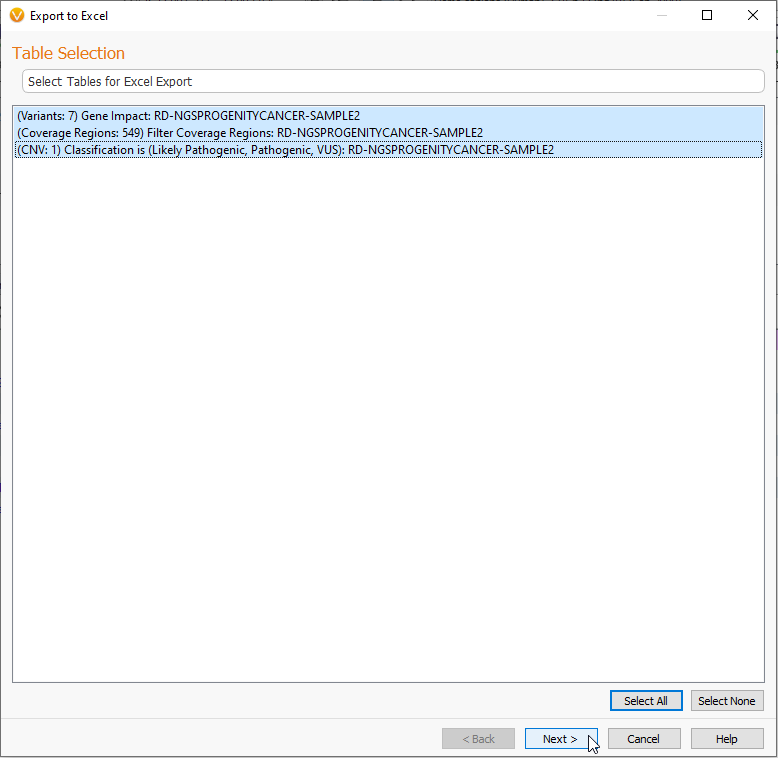
One of our most popular export options is taking an annotated project and exporting the data into an Excel spreadsheet. You can do this by selecting the XLSX File option seen in Figure 1. This will bring you to the now familiar page where you can select the data sets for export (Figure 18). here I am exporting all three tables.
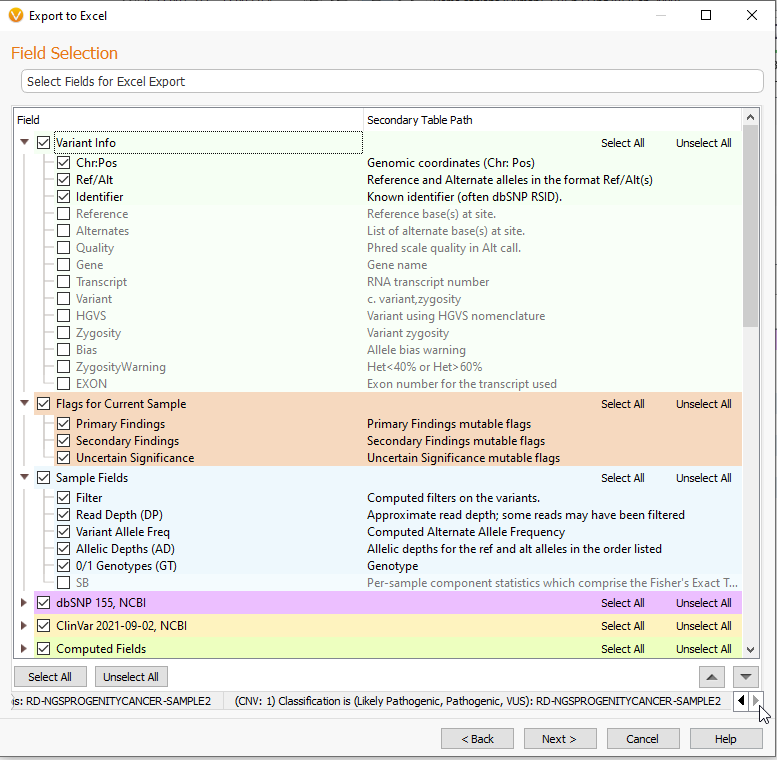
Selecting Next will also bring you to a page for selecting fields you wish to export (Figure 19). At the bottom right of the screen, you can see that I am looking at my Variant fields.
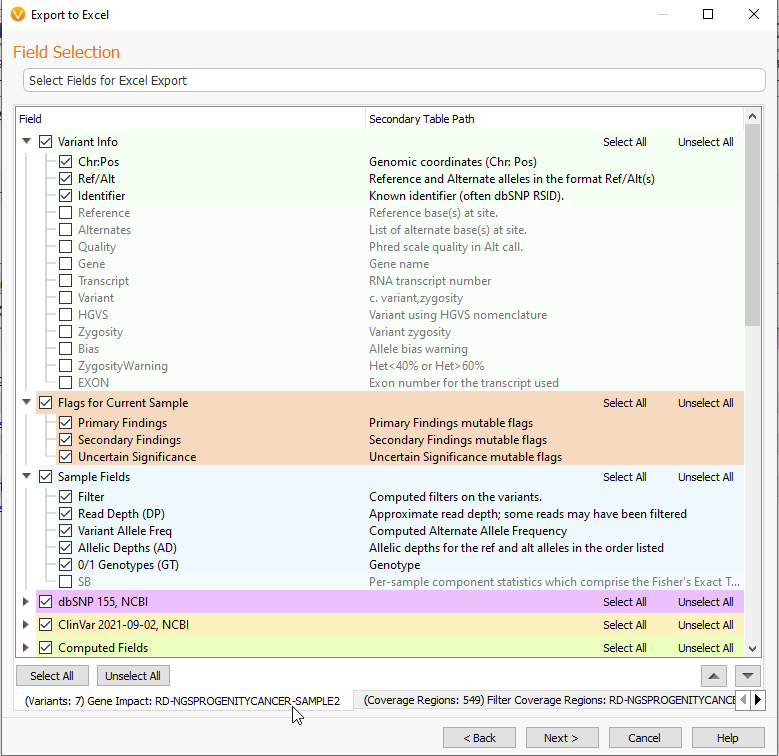
By using the buttons in the bottom right, I can navigate to different tables and make separate field selections (Figure 20). This is useful when exporting many kinds of data tables into one Excel sheet.
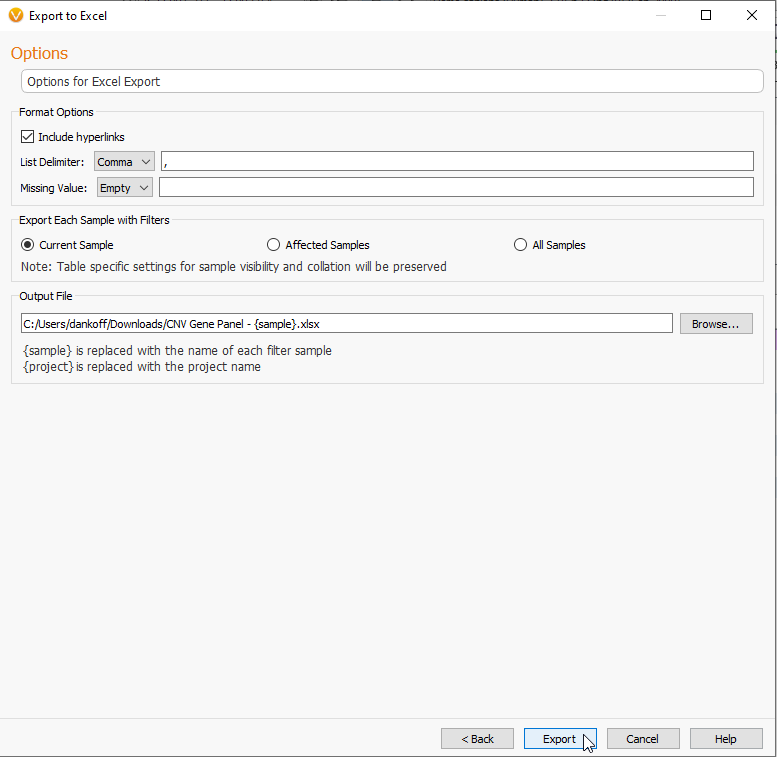
The next page, like the Text editing options from Figure 4, will allow you to make changes to list deliminator (Figure 21). Here you can rename the output file and select a export location.
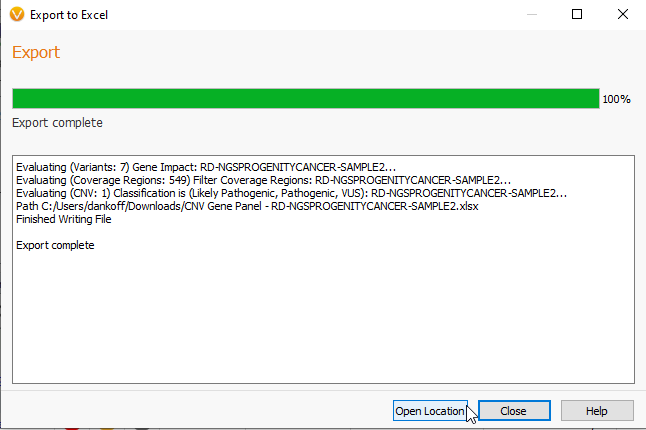
Once the export is complete, you can close the page or open the location of the new XLSX file (Figure 22).
Here the Excel sheet is open and you can see that I have a number of different tabs across the bottom of the sheet corresponding to the exported tables (Figure 23).

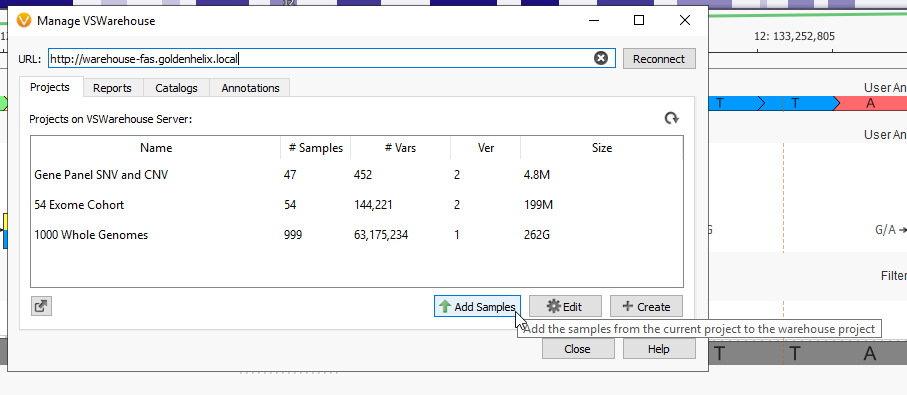
While these options are great for exporting smaller data sets, many of our customers are working with many samples and large data sets, requiring more advanced scalability. For customers working with big data, we have a VSWarehouse solution (Figure 24).

VSWarehouse allows for the export of entire projects, reports, catalogs, or annotations into a space that is fully query-able. For example, we have uploaded this 1000 Whole Genome project into a Warehouse instance, along with several other big data projects (Figure 25). This will allow us to later search our uploaded data sets for information about specific variants, genes, etc. across those projects.
For more information on Warehouse and its capabilities, visit this link or check out our recent blog post. For any questions about VarSeq export options or requests for additional methods of export, please contact us at support@goldenhelix.com.