The new Annotate and Filter algorithm is now available with the release of SVS 8.6.0, see the release notes for full details on all new and updated features.
To access this new functionality, you simply need to update your SVS installation to the new version. The update can be done by clicking the Update Available link at the bottom of the Welcome Screen before opening a project.
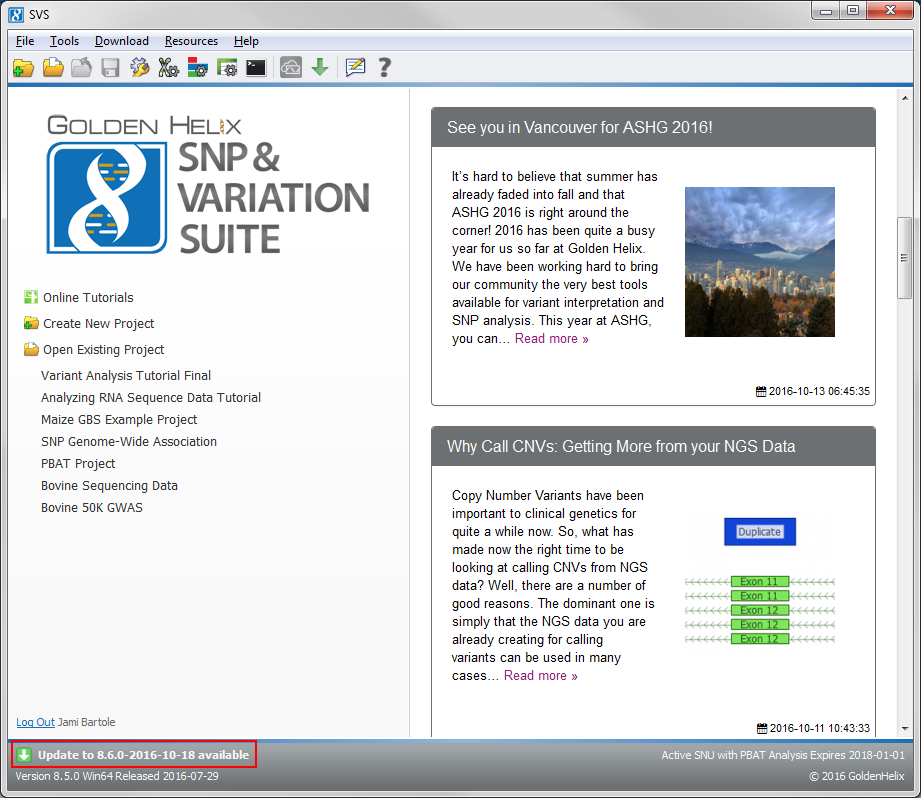
Fig.1. Update Available link on Welcome Screen
Once you are using SVS 8.6.0, you can access the new feature by going to DNA-Seq > Annotate and Filter Variants from any marker mapped spreadsheet. Please see the SVS Manual for further information on all options available with the new tool.
To be able to fully annotate and filter your data using any available source on our Public Annotations server (Tools > Manage Data Sources) there are a few format requirements for your data.
In particular, if you want to be able to annotate and filter against a Variant annotation source (ex. ClinVar or ExAC Variant Frequencies) or to be able to annotate Variant Effect on Transcripts (i.e., Variant Classification) you are required to have a marker map applied to your spreadsheet that includes fields for the Reference and Alternate alleles for your variants. The spreadsheet should look similar to the following.
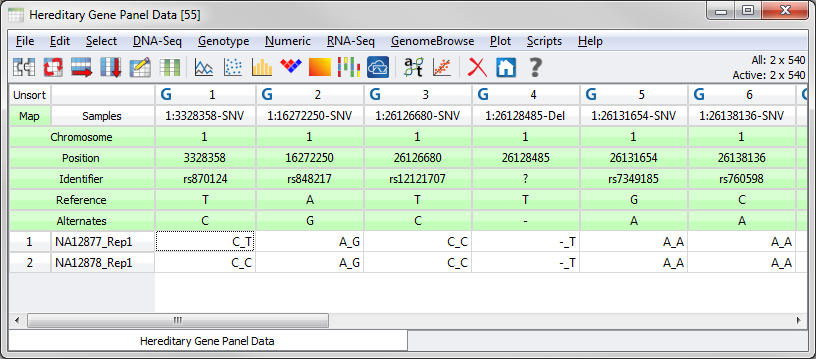
Fig.2. Spreadsheet with correctly formatted marker map
If you have imported your data into SVS using a recent version of the Import > Import VCFs and Variant Files tool, then your data should be correctly formatted and you can proceed to annotate and filter your data.
If you imported your data using an older version of our VCF import tool you may only have a Reference allele field present in your marker map. If that is the case don’t worry as we have added a script under the File menu that will automatically create an Alternates field using the supplied reference and querying your genotype data for the alternate alleles. Just go to File > Add Alternates to Marker Map to launch the tool.

Fig.3. Add Alternates to Marker Map tool
For those of you with GWAS or SNP data that will not include this allele information you can still use the Annotate and Filter Variants tool a couple of different ways. In particular, the tool can be used to annotate your SNPs based overlapping gene or region information. The same functionality can be used to filter your SNPs to gene/exon regions or even filter your SNPs based on a defined gene list.
From your SNP data, if you launch the tool and select a gene source you should see few differences on the main dialog since your data will not include the necessary allele fields for transcript annotation.
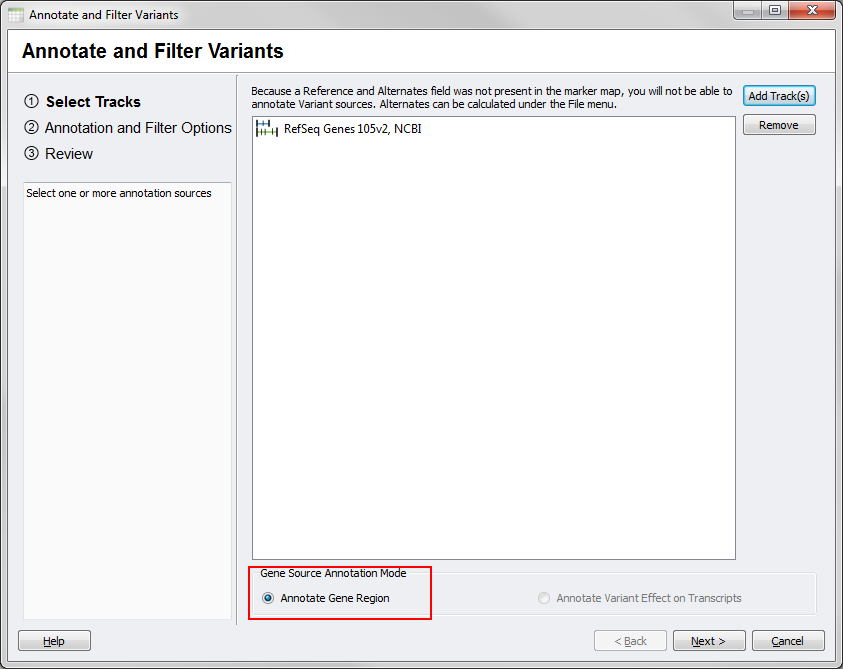
Fig.4. Gene Region Mode for SNP data
In particular, the Annotate Gene Region option will be selected by default under the Gene Source Annotation Mode options and the Annotate Variant Effect on Transcript option will be grayed out and unselectable.
The options dialog for this source will also have some different available choices, in particular output can only include a Gene Region Report that can optionally include intergenic annotations for your SNPs. Filters will also be specific to the available output included in this reports.
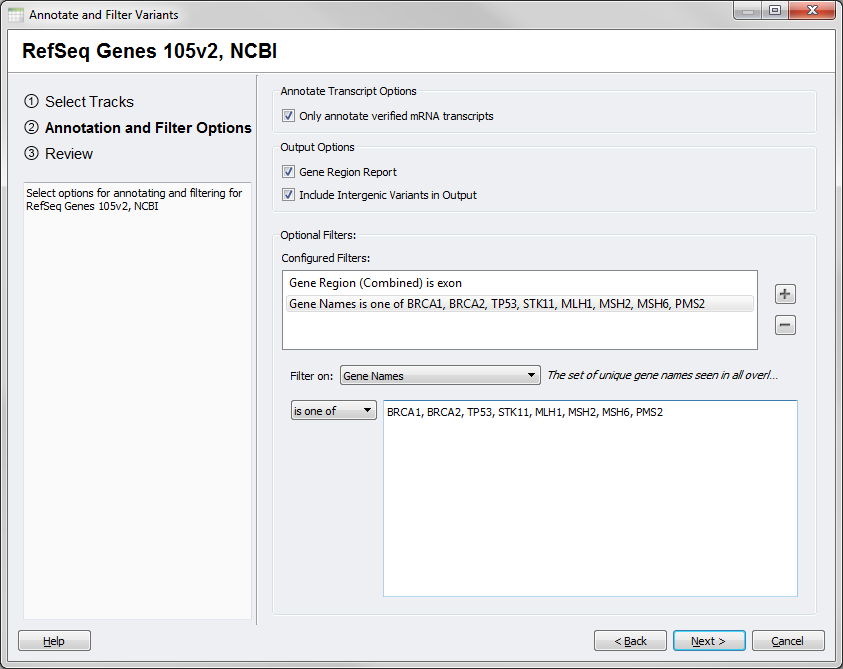
Fig.5. Gene Region Options
Once annotation and filtering is finished you will get a summary message indicating the number of variants that were annotated as well as how many are left after filtering.
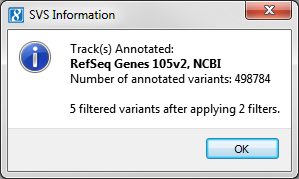
Fig.6. Summary Message
For output in the Project Navigator you will see three spreadsheets created, one Gene Region Report that includes the full list of variants in your original spreadsheet, one Applied Filters output that contains a list of the select filters and lastly a Filtered Subset if there are any remaining variants after applying all selected filters.
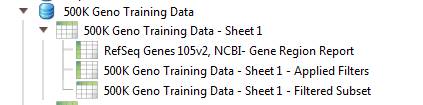
Fig.7 Project Navigator Window
For those of you who liked the previous version of these tools, we have made them available for download from our Add-On Script Repository, so you can safely update to new versions of SVS while still having access to the original tools.
Here are two scripts available for you to use: Annotate and Filter Variants and Variant Classification.
Please email us at support@goldenhelix.com if you have any questions about using the new tool or downloading and using the original versions!